1. Multiple Pages Upload & Draw
We're excited to introduce Upload & Draw, a new view option within the Drawing Tool that makes creating fence layouts from existing plans, surveys, and site drawings faster and more accurate than ever before. Simply upload an image or PDF and draw your fence directly on the document. You can quickly set the drawing scale by entering a known scale or by drawing a reference line and entering its real-world measurement. Upload & Draw also supports multi-page documents, allowing you to switch between pages while designing. Once your design is complete, you can choose exactly which pages to include in the customer proposal using the Multiple Fence Design tab, ensuring your proposals remain clean, professional, and focused on the information that matters most.
How to Use Upload & Draw
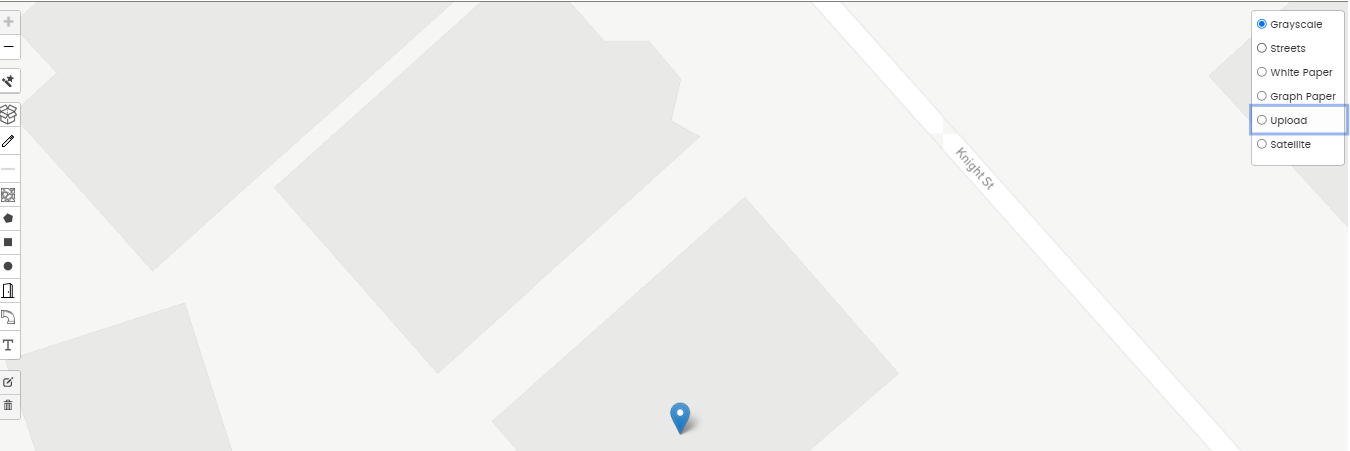
1. Open the Drawing Tool and select Upload & Draw from the available view options.
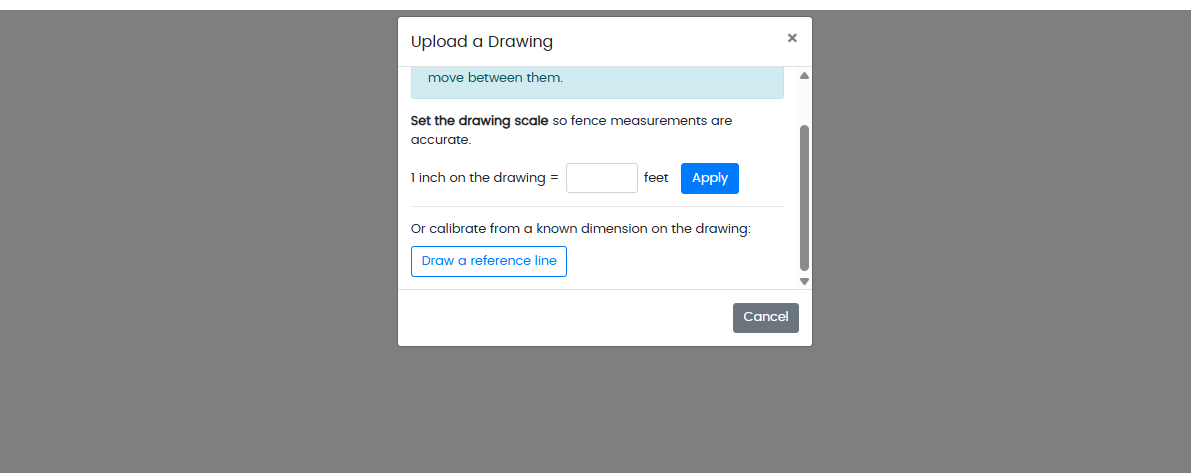
2. Set the scale by entering the scale or draw Draw a reference line
2.
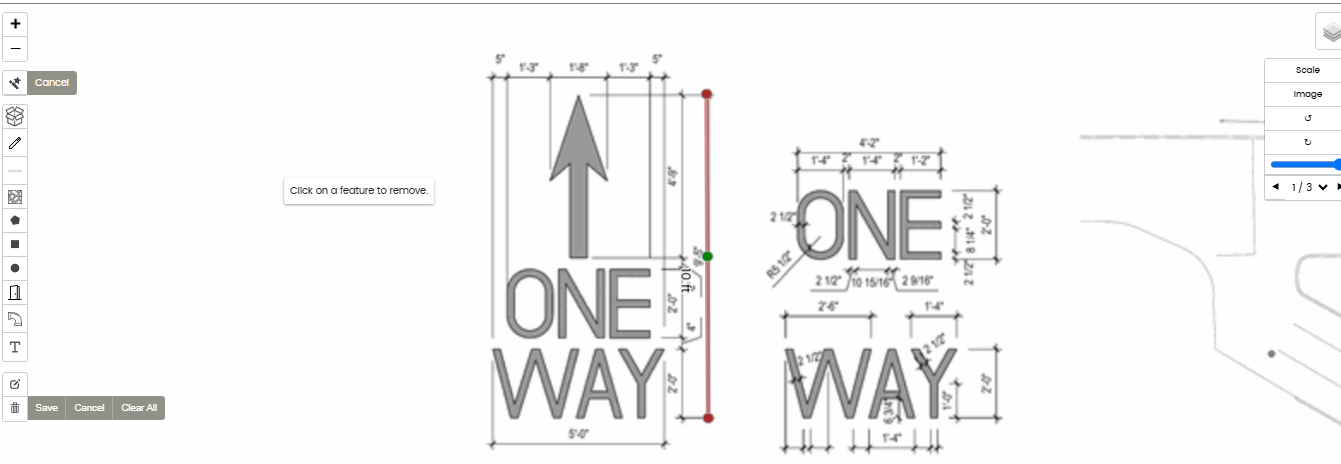
Upload your image or PDF, then set the drawing scale by either entering a known scale or drawing a reference line and entering its real-world measurement.
3.
Begin drawing your fence layout directly on the uploaded plan or image.
2. T-Posts
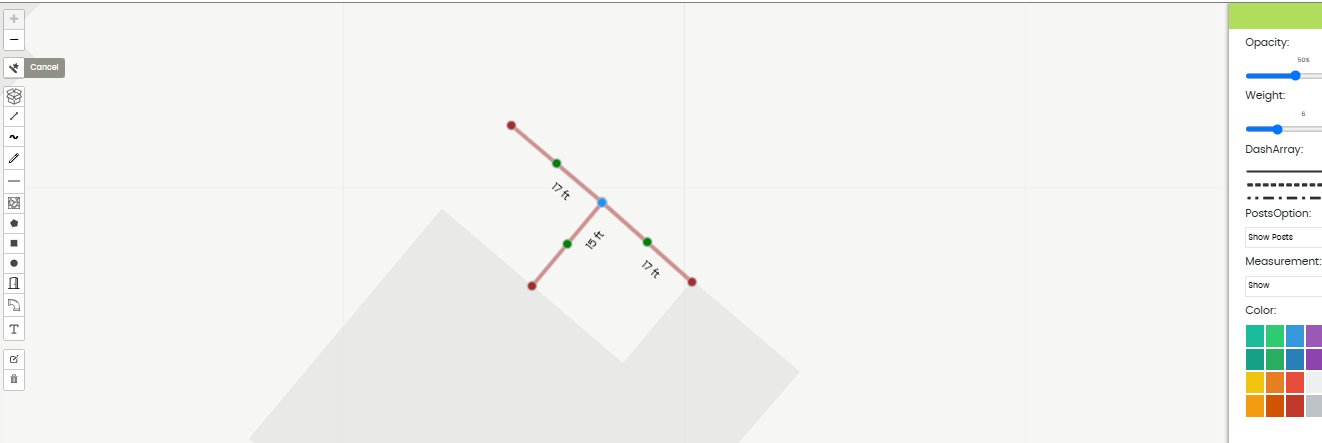
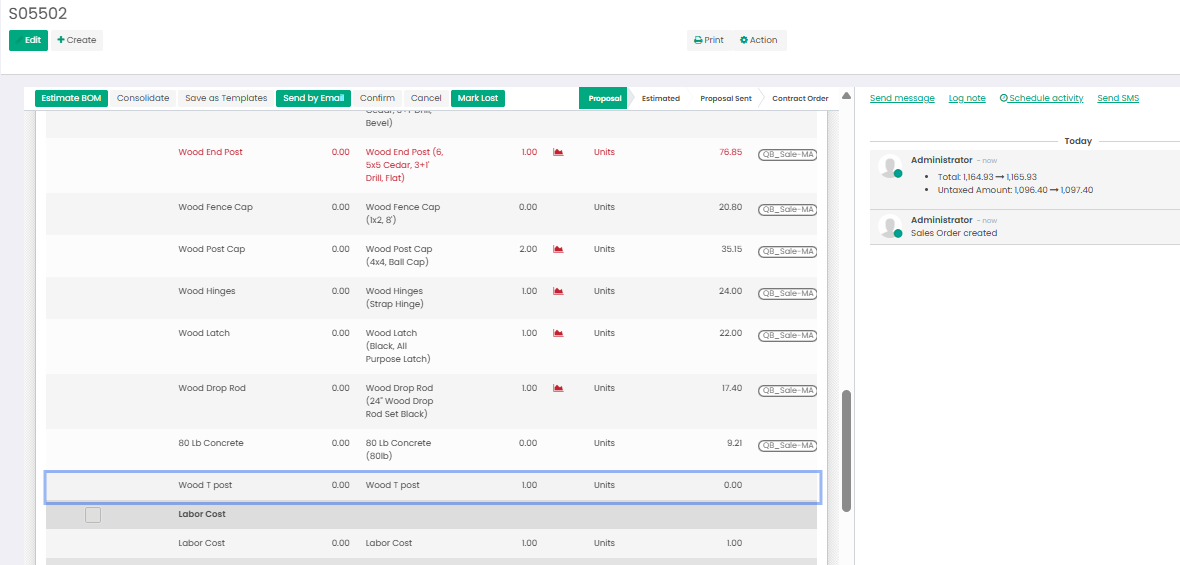
The Drawing Tool now supports T-Posts for creating T-junction fence layouts. When one fence line connects to the middle of another, the Drawing Tool automatically detects the junction, snaps the fence into place, and inserts a T-Post at the connection point. The T-Post is also carried through to the proposal automatically. If your quotation template includes a dedicated T-Post product, the quantity will be added as a separate line item. If no T-Post product is configured, the quantity will automatically be included with the standard line posts.
How to Use T-Posts
-
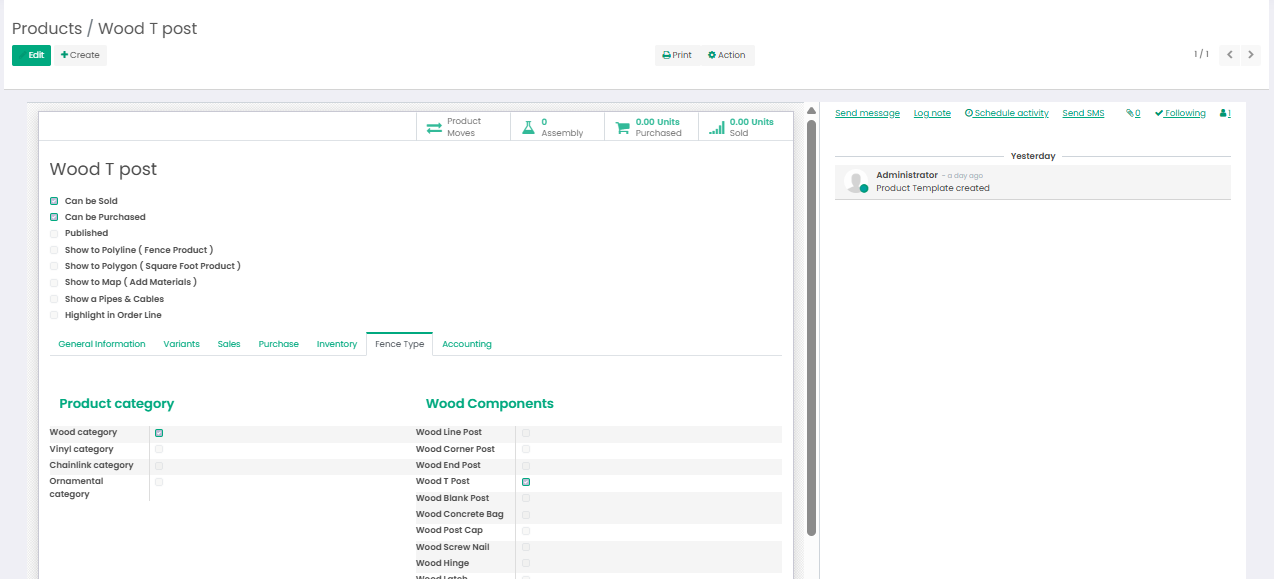
Create a T-Post product, set its Fence Type to T-Post, and add it to your quotation template.
-
Draw your primary fence line, then draw a second fence line and connect it to any point along the existing fence line. The Drawing Tool will automatically snap the connection into place, create a T-junction, and insert a T-Post at the junction.
-
Generate the proposal to see the T-Post automatically included in the material list.
3. Radius / Curved Fence Tool
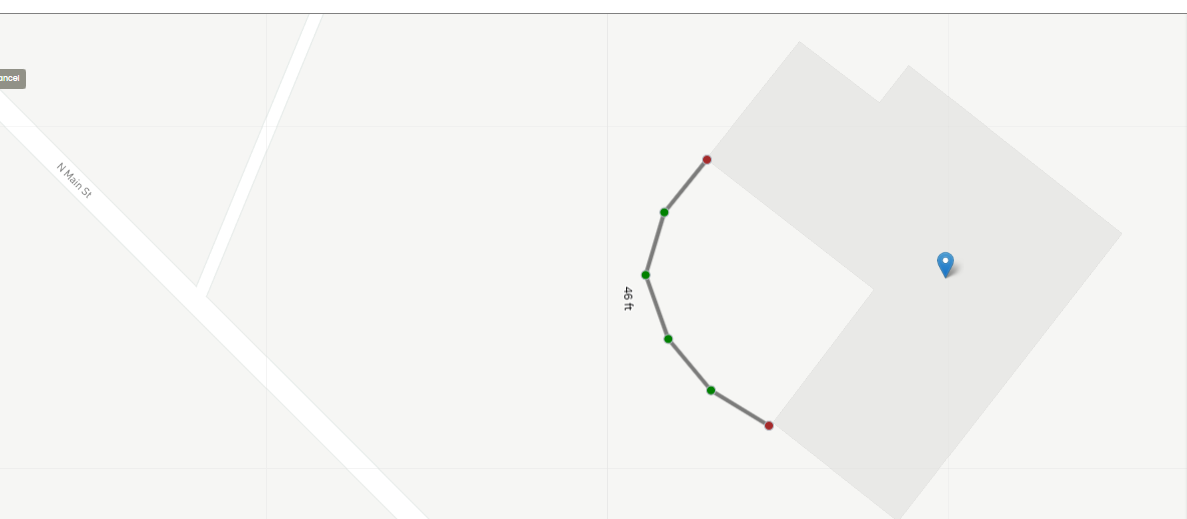
The new Radius / Curved Fence Tool makes it easy to design fence layouts that follow natural curves and irregular property boundaries. Create smooth curved fence runs and seamlessly combine them with straight sections in a single continuous fence line, making it ideal for driveways, ponds, landscaped areas, and curved property lines. As you draw, the tool displays live fence length measurements, providing greater accuracy and a more intuitive drawing experience.
How to Use the Radius / Curved Fence Tool
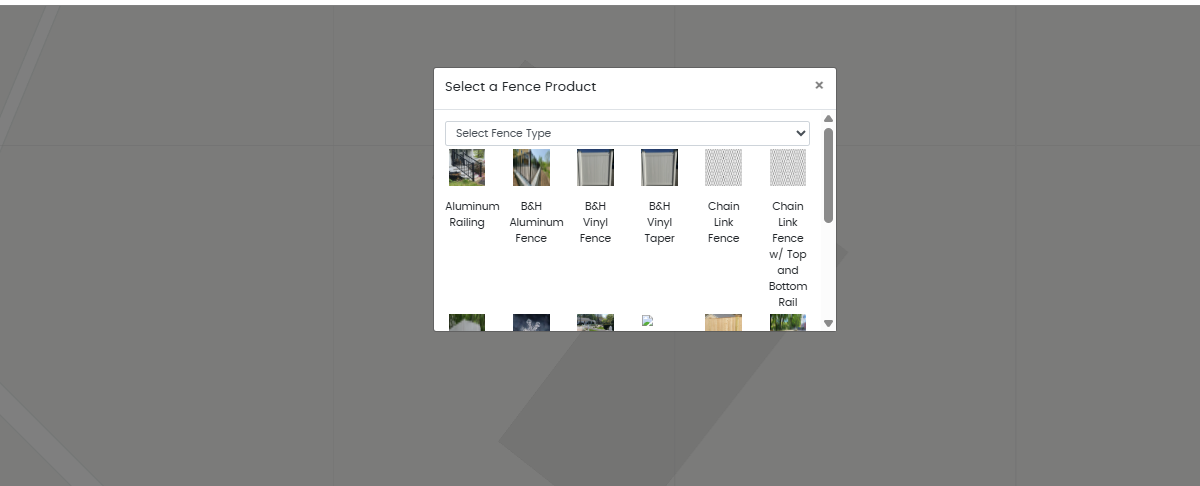
- Select the fence product you want to draw.
- Select the Curved Fence Tool from the Drawing Tool toolbar.
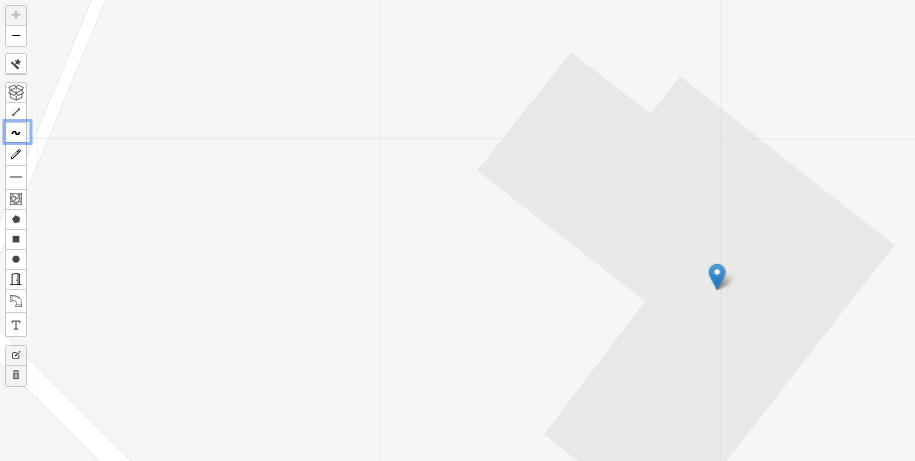
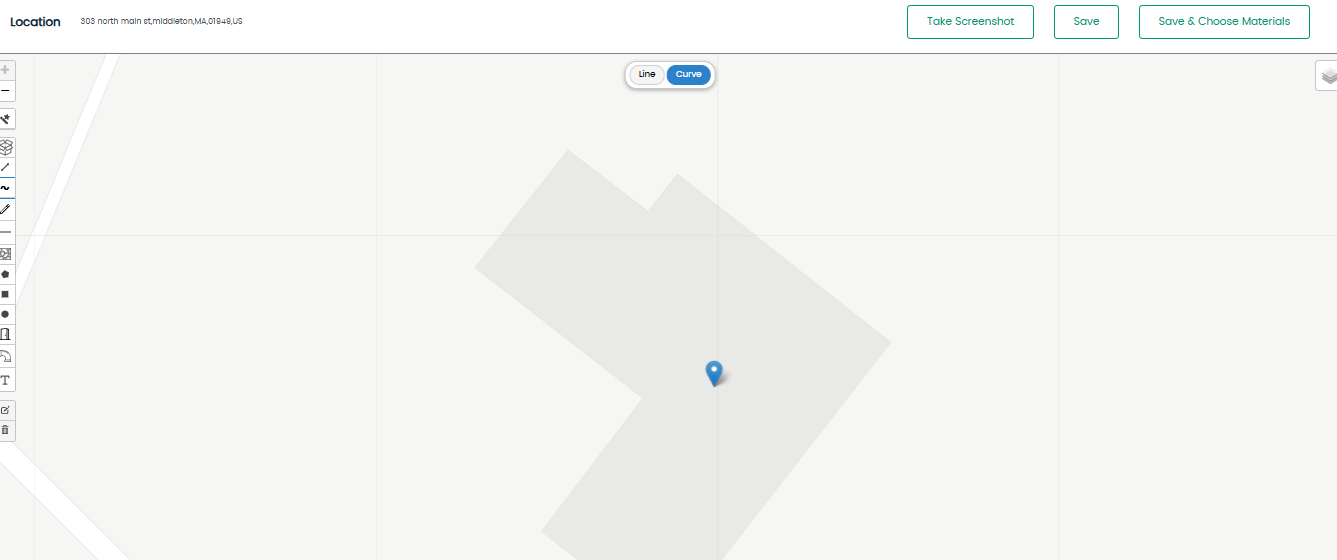
- Click to start drawing and move your cursor to create the desired curve. Click again to finish the curved section, then continue drawing additional curved or straight fence sections as needed.
4. Improved Gate Visibility & Fence Measurements
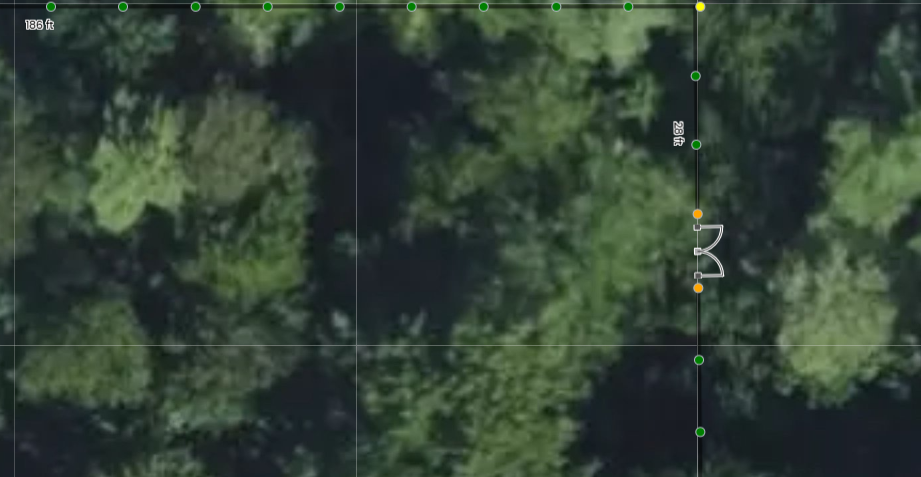
Gate symbols have been enhanced with a high-contrast white outline, making them easy to identify regardless of the background. Whether you're drawing over dark satellite imagery, trees, shadows, or rooftops, gates remain clearly visible, improving the accuracy of your designs and making layouts easier to review.
In addition, placing a gate on a fence line automatically recalculates the fence measurements, splitting the fence length into separate measurements on either side of the gate. This ensures the gate opening is accurately reflected in the layout and provides precise measurements for estimating, material planning, installation, and plan reviews.
How to Use Improved Gate Visibility
- Select a fence product and begin drawing your fence layout.
- Add one or more gates to the fence using the Gate Tool.
- View your design on any map or satellite background—the gate symbols will remain clearly visible with their new white outline.